Scientists at Argonne National Laboratory have revealed a new method for detecting defects in metal parts produced by additive manufacturing
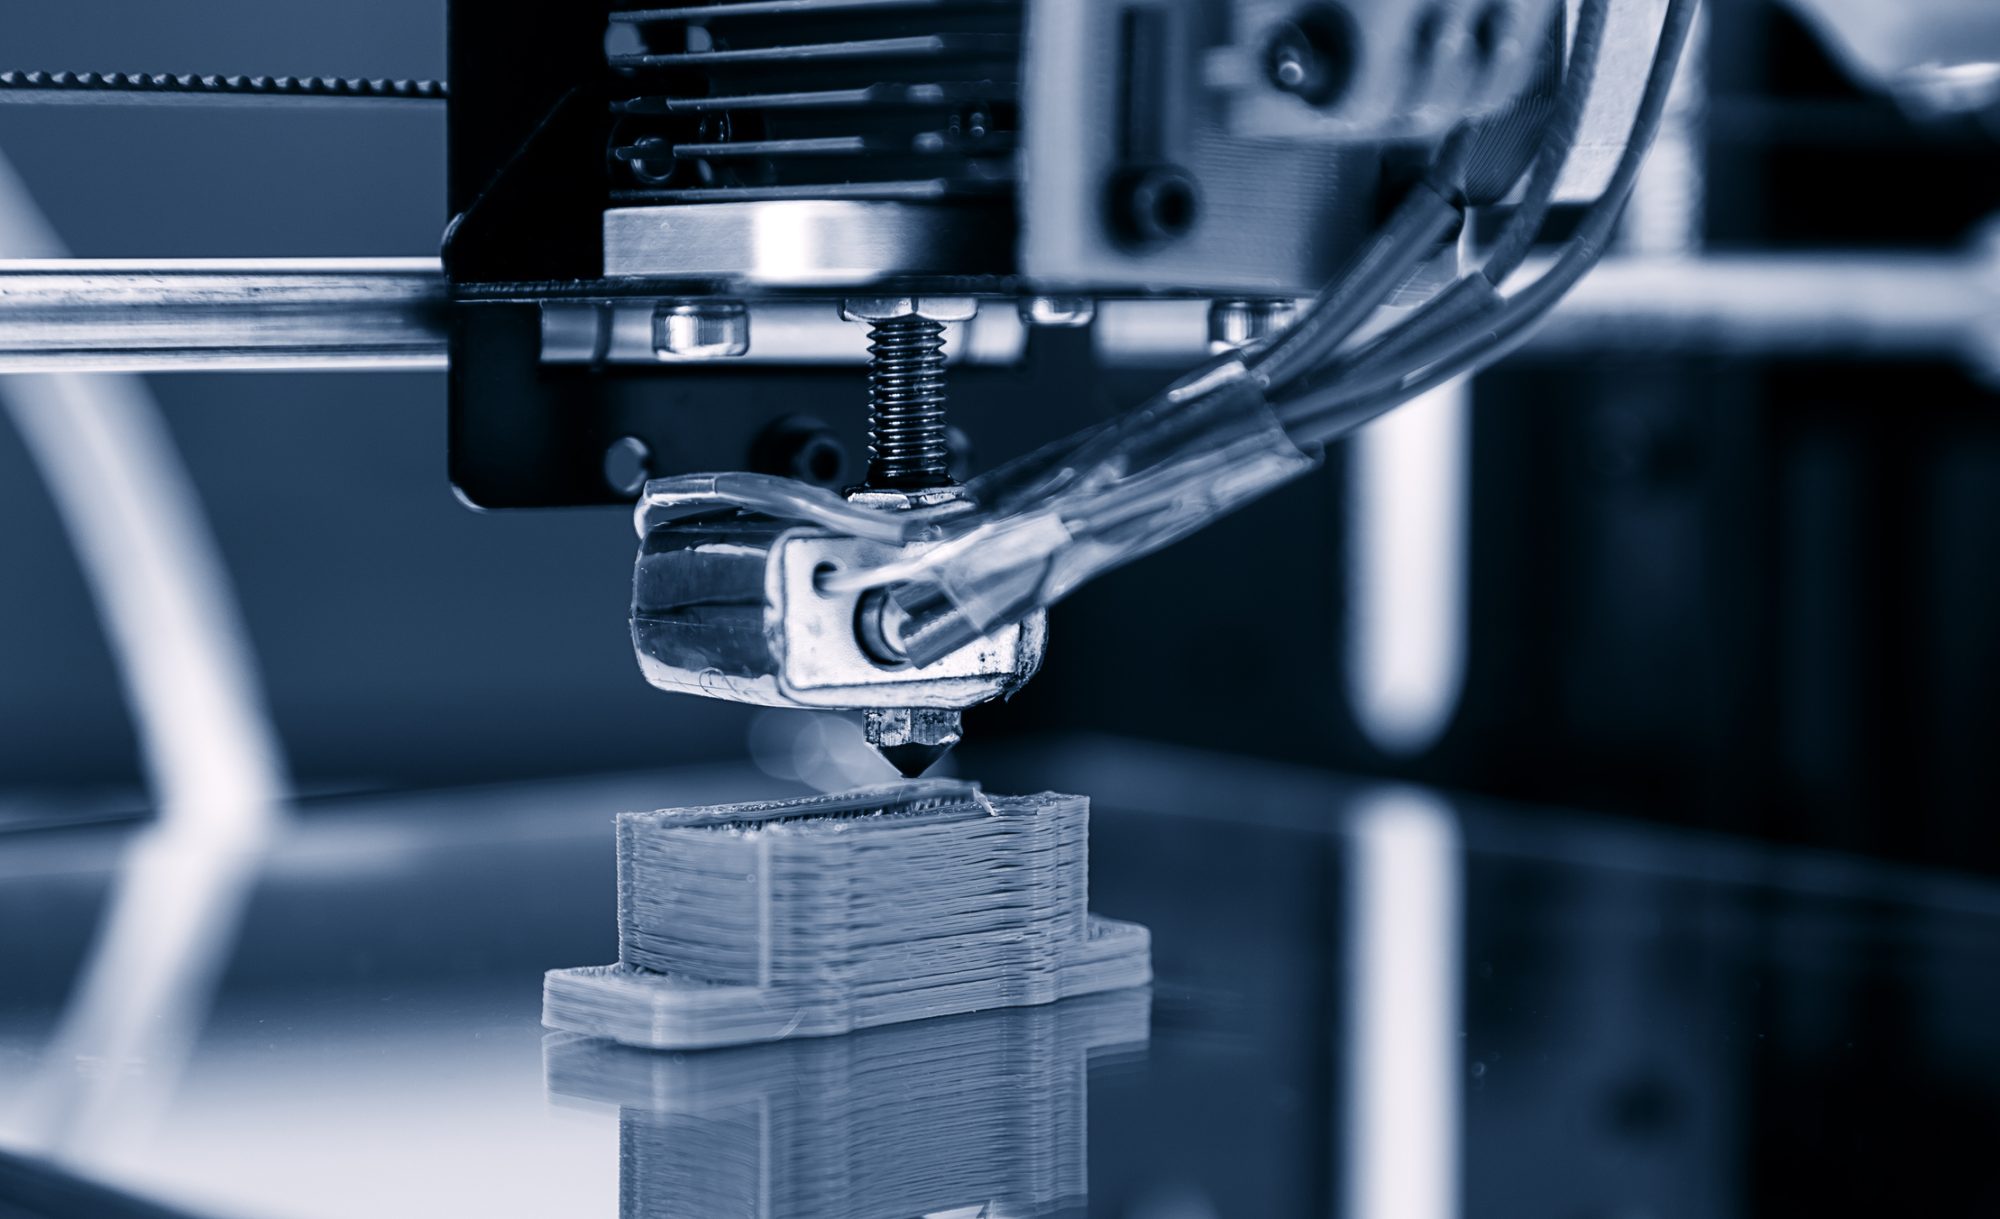
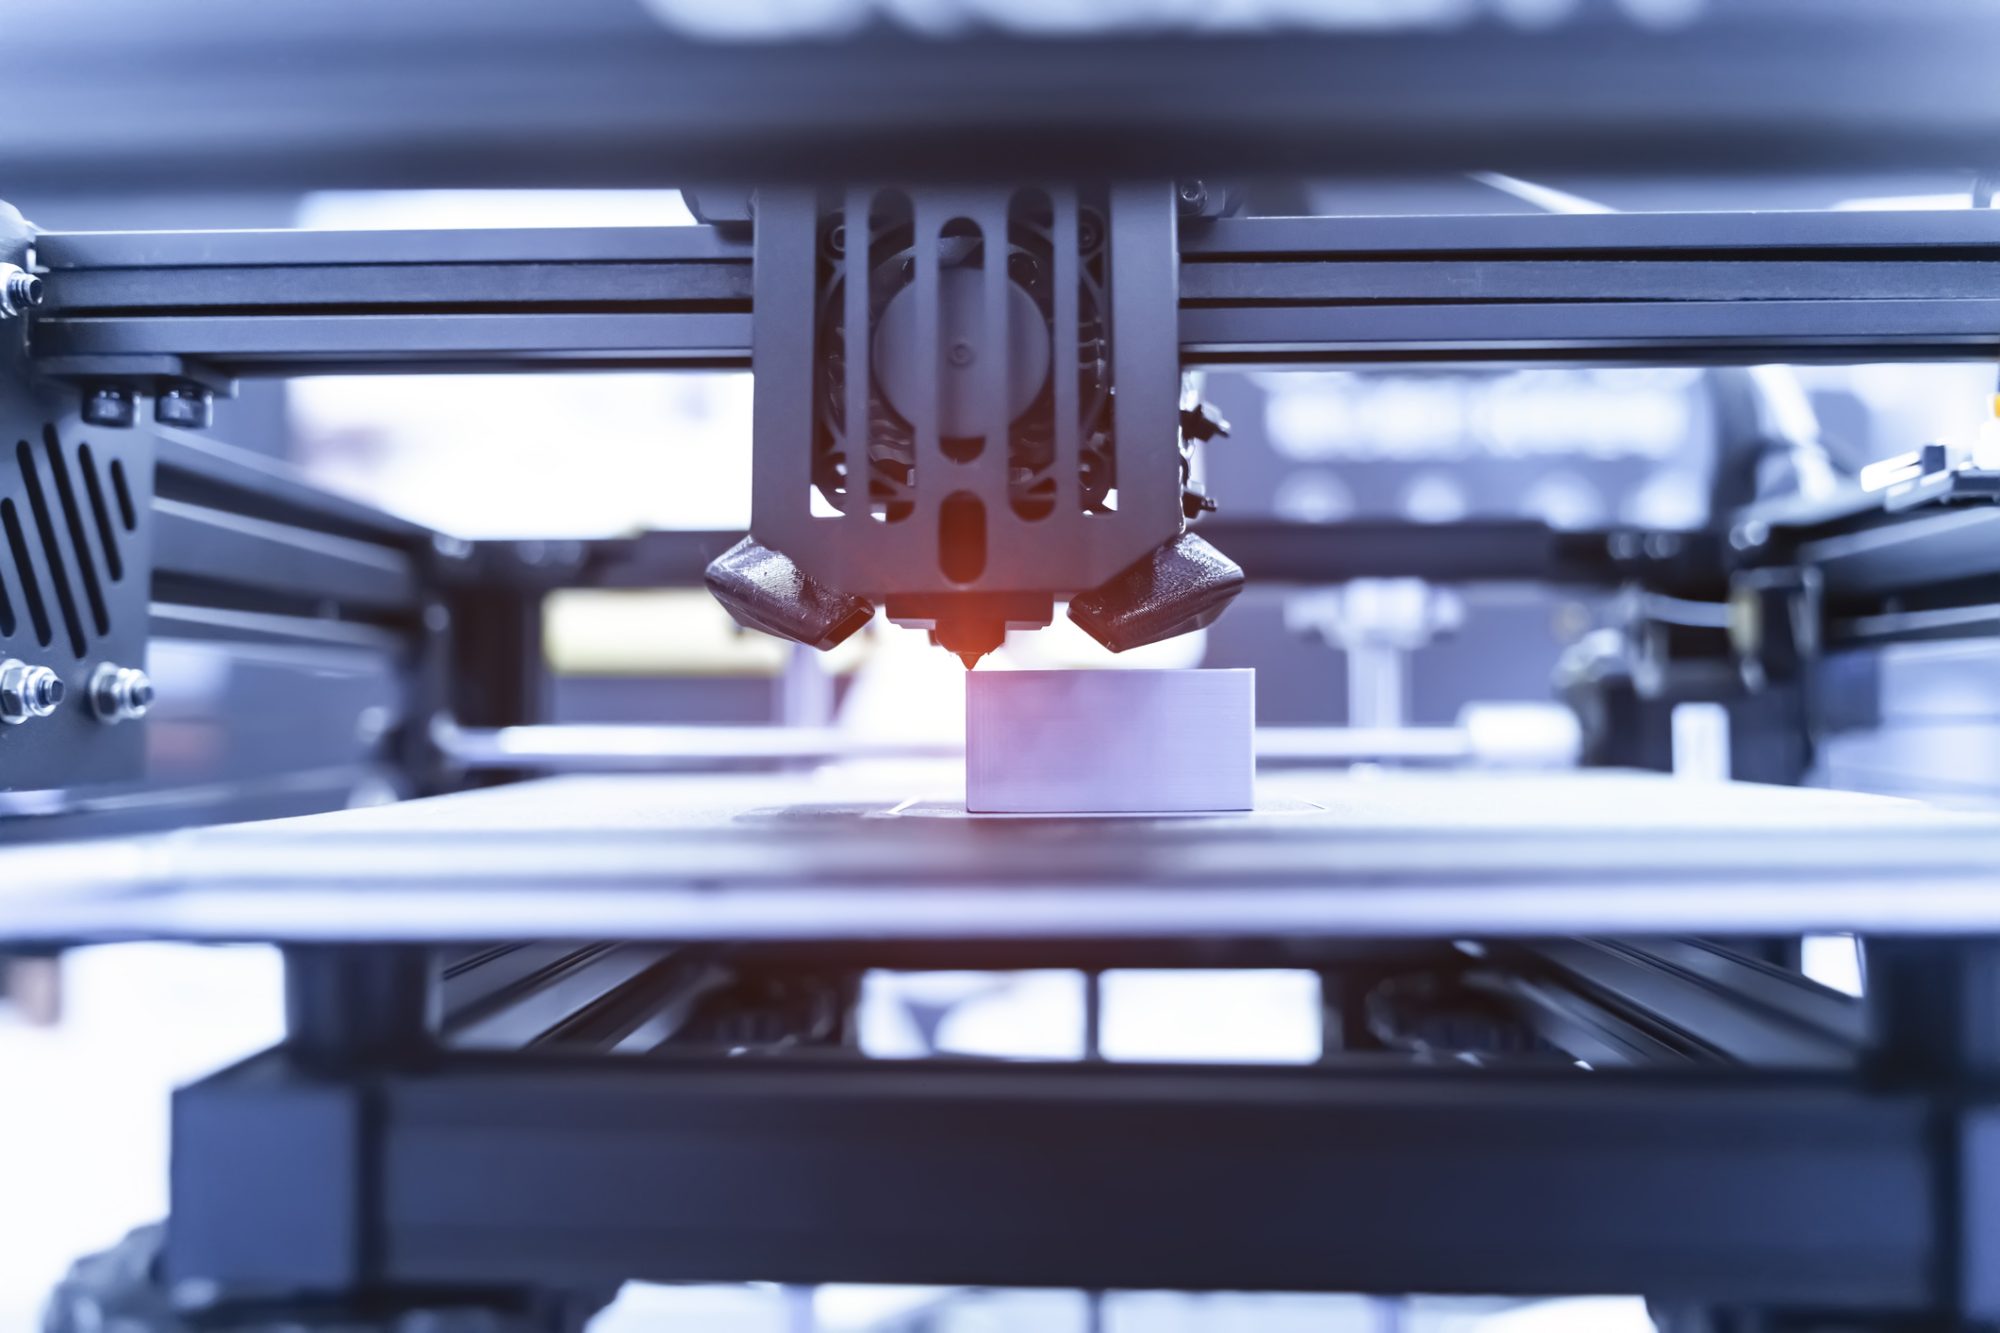
For over a decade, the construction industry has relied on additive manufacturing to create architectural models, prototypes and end-use parts. This process, which involves building parts layer-by-layer using a 3D printer, allows users to build geometrically complex parts quickly, automate the production process and use specific materials depending on the application.
While additive manufacturing has the potential to increase worker safety and enhance productivity in the construction industry, structural defects that form during the building process have prevented this approach from being widely adopted.
Researchers from the US Department of Energy’s (DOE) Argonne National Laboratory recently developed a new method for detecting and predicting defects in 3D-printed materials, which could transform the additive manufacturing process.
Uncovering defects with in-depth imaging
In their study, scientists from Argonne, the University of Virginia and several other institutions used various imaging techniques to detect the formation of pores in 3D-printed metals in real-time. The metal samples used by the researchers were created using a process called laser powder bed fusion, in which metal powder is heated by a laser and then melted into the proper shape. But this approach often leads to the formation of pores that can compromise a part’s performance.

Many additive manufacturing machines have thermal imaging sensors that monitor the build process, but these sensors can miss the formation of pores because they only image the surface of the parts being constructed. The only way to directly detect pores inside dense, metal parts is by using intense X-ray beams, like those at Argonne’s Advanced Photon Source.
Argonne’s X-ray tools can capture more than a million images per second, which allowed the researchers to see pore generation in real time. Then, they compared X-ray images of pore generation to the thermal images generated by the additive manufacturing machine. They discovered that pores formed within a metal part cause distinct thermal signatures at the surface that thermal cameras can detect.
Predicting pore formation with machine learning
Once the researchers identified thermal signatures that can be detected by additive manufacturing machines, they trained a machine learning model to predict the formation of pores within 3D metals. They validated the model using data from the X-ray images, which they knew accurately reflected the generation of pores in the metal samples they used.
Then, they tested whether their model could detect thermal signals and predict pore generation in a new set of samples. The scientists discovered that their new method achieved near-perfect prediction of pore generation in real-time.
Improving existing commercial systems
While many additive manufacturing machines on the market already have sensors, they aren’t nearly as accurate as the method the researchers developed. But instead of having to build new additive manufacturing machines, the method can readily be implemented into existing commercial systems that have thermal cameras.
Incorporating this new method into current machines can help users identify where pores are generated during the printing process, providing them with the information they need to either adjust parameters or stop the build altogether. In some cases, a machine can automatically stop building a part if a major defect is detected early in the additive manufacturing process, saving users time, materials and money.
The new method can also benefit users after a part is printed by saving them time during the inspection process. Specifically, a log file is created by the machine that documents where pore defects might be located within a part. Inspectors can then use this log file to look at specific locations instead of analysing every aspect of the part.
The ultimate goal in developing this approach is to create a system that not only detects defects but also repairs them during the additive manufacturing process.
Moving forward, the researchers plan to study sensors that can detect other types of defects. They hope to develop a comprehensive system that can tell users not only where defects might occur but also what type of defect it is and how to fix it.
Argonne National Laboratory
Tel: +1 630 252 2000


![[Video] Fireco: 80 new fire doors required for residential flats in London](https://www.pbctoday.co.uk/news/wp-content/uploads/2025/04/2024-06-01-Lords-view-one_1200x750_004-218x150.webp)


